
What follows is a cautionary tale of hobby ideas gone awry, I tried to cast my own bases and I should have known better. The cost of the materials and time involved is a lot unless you are going to try and sell them, so take my advice and purchase them from one of the many online sources available. My little project documented in this update only served to raise my respect for guys that actually do mess with resin casting. For the rest of us, just buy it from them!
With the project of rebasing the entire force on the horizon (I cannot stand the standard bases I am using) I needed to decide between purchasing resin cast bases or creating my own, it goes without saying that I will be purchasing all my future bases! So I decided to experiment a bit on the sentinels. Here are the two base variations I tried:

I left room on each base for the feet and then an addition piece. So two of the casted resin bases will get battle suit heads on them, and the other two will most likely get a pulse rifle or half a gun drone.
You have to be really careful when making these that everything is even at the base; you don’t want the rubber molds sticking in between cracks and crevices. The ports on the back of the suit will be fine because the are vertical bumps, the ones you don’t want are horizontal bumps.
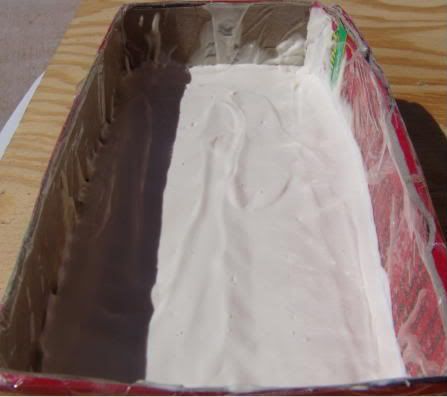
Here is the super cheep box I made from a bog treat box; you want something small so you don’t waste a ton of casting material. And with bigger mold casts it takes longer to dry… Once I get the bases dried out, ill coat them with matte finish 3-5 times to keep them nice and sealed so they don’t loose all their detail when I cast them.

OK; so after 4 coats of the matte finish spray paint, the bases were nice and sealed, and more importantly, a bit slippery! So into the box they go out and out comes the casting goo, (at this point anyone who does any real casting will be laughing at my attempt)…
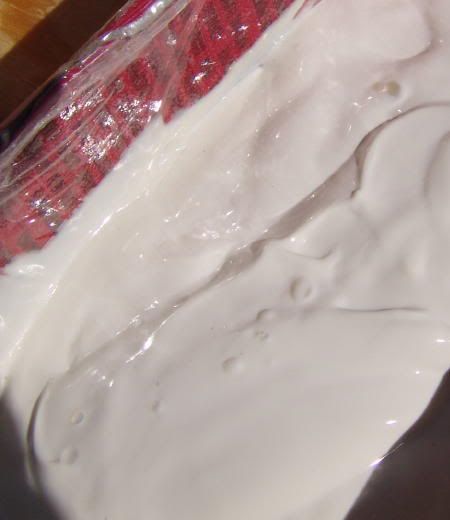
I do the edges around the bases first, working around the box little by little, this helps keep air bubbles from getting trapped at the base of the casting:

Once I work my way around, I build a small pile next to the top of what im casting, then gradually move it across the item being casted so the molding material ‘rolls’ along the top of the new bases, pushing out air bubbles and making sure it gets down in every crack:

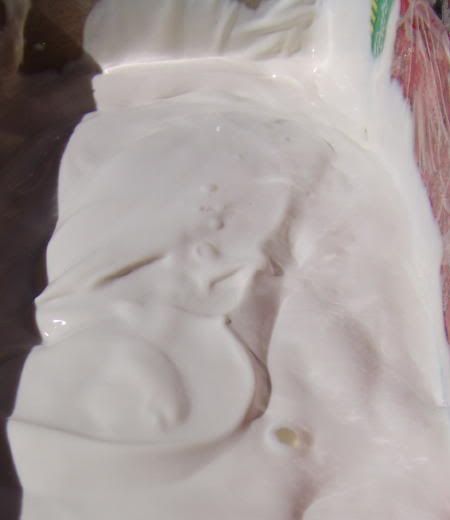
Once the bases are completely covered comes the hard part, settling the casting material down… Basically you are going to gently pick up the box and then gently set it back down onto the table. Over and over and over and over and…
You can see the bubbles coming up through the casting material. Any bubbles down there are going to screw up your mold. There are always going to be bubbles in there, unless you are using a vacuum / pressure cylinder to get them out. The trick here is to minimize them as much as possible so you don’t have to do much work filling in holes in the finished product! Keep pounding it up and down, over and over (another trick is to set on top of the washing machine and let the vibrations push out the air bubbles):
Finally after about 20 minutes its all settled:
At the time this all seemed like a perfectly good idea, let me assure that it was far more trouble than it was worth, my biggest mistake was in the material I used to make the mold, do the right thing and order the expensive stuff online. Don't be cheep like me, it just makes the entire process more painful down the road, as we will get to see next week...
Here's to trying new things and learning from it!
Tallarn
When the new Imperial Guard codex was released, I needed a bunch of 60mm bases to rebase all my heavy weapon teams so I made a mold for the base. I used the Alumilite brand sillicone and resin that HobbyLobby carries. They occasionally have a 40% off coupon you can print off from their website and that is when I stock up. I made a basic flat master mold I didn't add anything so I could use them across several armies. I keep the mold beside me when I cast other things and pour the extra resin in it. When the mold is full I pull the base. I waste very little resin. The bases are a little irregular but once they are flocked they look fine. I have recently used them to base some sentinels I have been working on.
ReplyDeleteAgreed, sillicone molds are the way forward, and only take 12-18hrs to dry (or overnight if your like me!)
ReplyDeleteMay i also suggest mounting your items on some sort of 'base' in your moulding box. I use play-dough for this, and ensures no sillicone gets underneath the piece im trying to mold.
Excellent points, I will never try rubber molds again, that was a huge mistake on my part.
ReplyDeleteThe point of having extra molds handy is a great idea, I will ahve to remember that in the future - if I decide to try my hand at this again that is!
Putting playdough at the bottom is a great suggestion, I had been trying to get a good seal wihtout some sort of backing, thats excellent.