

I spent some time researching what would work best for removing the paint without damaging the resin. After all we are dealing with a model that regularly goes for over $500 on eBay with a complete set of weapons as this one has. After a lot of searching I came up with Simple Green as a solution, I have seen some horror stories of all sorts of fluids actually breaking down resin and ending up with a ‘bag of goo’ as a result, but didn’t see any with Simple Green. Also its non-toxic, I still wouldn’t drink the stuff, and relatively easy to handle indoors or out.


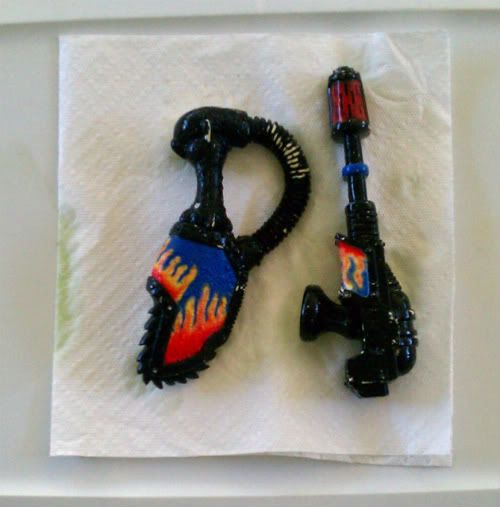
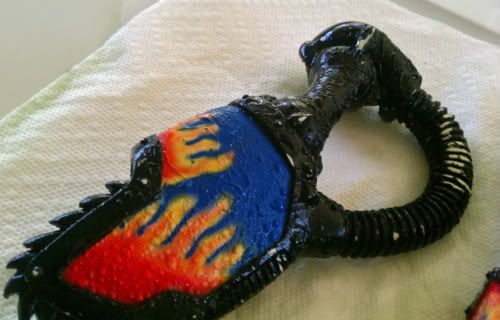
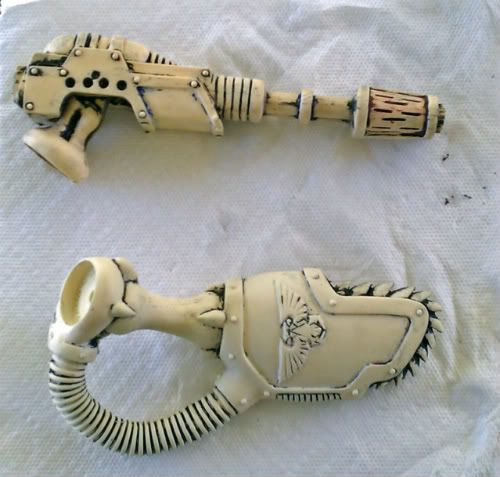
Here you can see the parts and the ‘bubbling’ of the paint is readily apparent. The paint is loose almost like a blister on skin and comes off very easily.
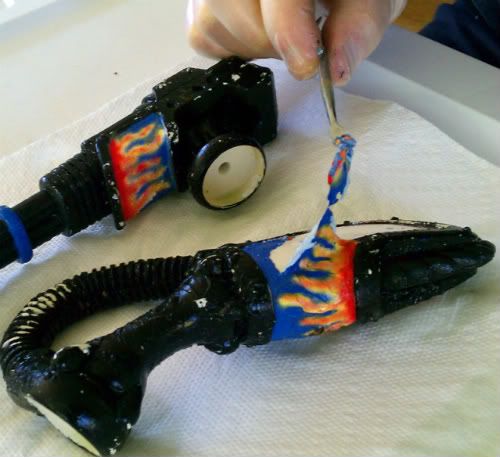
At first you will be able to slowly remove the paint in large sections, do this as long as possible as it will give you the cleanest results while removing the paint. This will also make for the easiest clean up of the surrounding area once you are done.
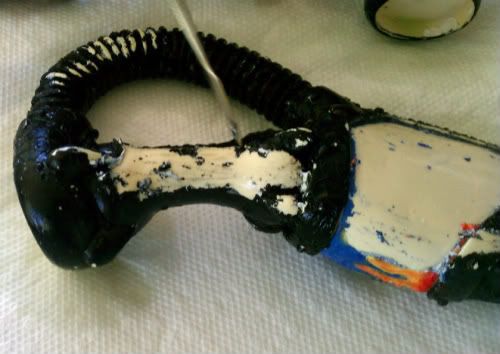
As paint is removed from the more intricate details it will form ‘paint balls’ that will stick to anything, be careful not to get too aggressive with paint removal as these paint globs will get inadvertently flung off onto other surfaces. For this portion I generally use an old tooth brush. These paint globs can be difficult to remove later once they find their way to walls and tables.
After scrubbing with a toothbrush and sponge here are the parts after their first cleaning.
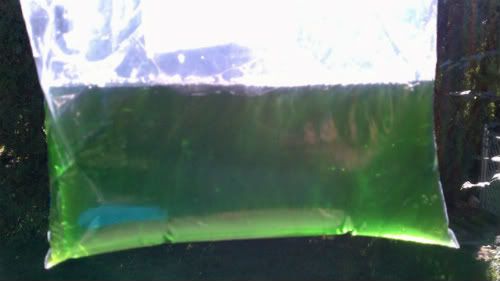
By being very careful not to agitate the parts and cleaning solution while in the bags you are left with a cleaning solution that remains free of particles and can be reused multiple times, as you can see in this photo.
After their first rinse the parts went back into the bag for another soaking so I can remove the rest of the paint stuck down in the cracks. I will be checking the bag in another 12 hours and then 24 hours to determine a regular schedule to get the rest of the parts cleaned and ready for any necessary repairs prior to priming.
I hope this offers a few ideas for those not brave enough to set out on a rather dramatic project like stripping paint from old models quite yet.
still practicing_
Tallarn
Nice one - Simple Green really is the best thing out there, a day or three in the dip and no paint stands a chance! I used the same basic technique stripping the Mk.1 Land Raider recently, and it worked like a charm. Looking forward to seeing that Reaver get some fresh paint on it!
ReplyDeleteI had to do research on this one, I wanst going to dip a 22 year old (the first parts are marked '89) resin model worth over 400 bucks into uncle bob's paint stripper!
ReplyDeleteThe armorcast Reaver is a love hate thing, either peopel love the model or they hate it. I happen to love it. I think the clunky 1980's robot goodness is too much to pass up!
Do you know if this method will work on current resin models? Meaning stuff Forgeworld currently puts out?
ReplyDeleteI am sure it will. If you are worried about the resin holding up just do what I did, test on a small piece first. I used the flame cannon and it worked great, so I went on to the other pieces.
ReplyDeleteBut I can't imagine that resin has changed consistency a whole lot, all my armorcast stuff was just fine.
That is what I thought, I want to redo my Elysians, but would hate to ruin them. Thanks.
ReplyDelete