Showing posts with label Desert Raiders. Show all posts

Saturday, May 7, 2011

Modeling: Making Custom Decals

Most, if not all, Games Workshop kits come with water slide transfer sheets that allow for some customization on your miniatures. However, while these sheets are a great starting point they might not provide everything you are looking for. For the hobbyists out there looking for something unique or a very specific symbol, type of lettering or name you can try and search through thousands of decal sheets out there for kits from airplanes to tanks, but its far easier to do what the manufacturers do - make your own.
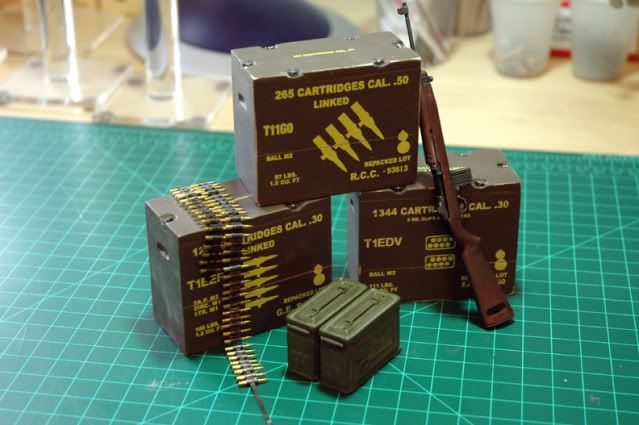
Anyone know where I can get some WWI ammo crate markings in 1/6th scale?


Saturday, April 30, 2011

Sentinels: Custom Bases and Paint

Another week, another small update: Sentinels are complete with basic paint job, nothing fancy just the basics. Highlights and shading await next week, yippie!

Yes that's a Tallarn heavy weapon gunner in that scout variant, I use the metal heavy weapon gunners for lots of things in my army, on to the front:

Saturday, April 23, 2011

Sentinels: Custom Bases Part Deux!

Now that the molds for the bases have dried it is time to test them out. I am so glad I decided to experiment on the Sentinel Bases before deciding to try and rebase the entire army: lots of learning going on here. So I cast the first of the bases today, mixing the resin is a simple 1 part ‘A’ and one part ‘B’ process. Pour equal parts of each, the kit comes with measuring cups, into a plastic cup, mix for 30 seconds and pour into the molds:

Saturday, April 16, 2011

Sentinels: Custom Bases

What follows is a cautionary tale of hobby ideas gone awry, I tried to cast my own bases and I should have known better. The cost of the materials and time involved is a lot unless you are going to try and sell them, so take my advice and purchase them from one of the many online sources available. My little project documented in this update only served to raise my respect for guys that actually do mess with resin casting. For the rest of us, just buy it from them!
With the project of rebasing the entire force on the horizon (I cannot stand the standard bases I am using) I needed to decide between purchasing resin cast bases or creating my own, it goes without saying that I will be purchasing all my future bases! So I decided to experiment a bit on the sentinels. Here are the two base variations I tried:

Saturday, April 9, 2011

Sentinels: Yard Sale Dealing

Alrighty, so when you go to a garage sale and you see a bunch of silly collectible cookie tins - look inside! For 5 bucks I got a Christmas edition M & M’s tin and everything inside; like 5 IG Sentinels perhaps? Oh yes, 5 sentinels. They might not be in the best condition, but there will be at least a full squadron of 3 salvaged from this poor old woman’s messy garage! And we may as well go over paint stripping while we are doing this, cause there is a lot to do:


Saturday, April 2, 2011

A Fist Full of Bitz: Final 4

Someday I won't resort to using the droid to take pictures everyday, but at 8 mega pixels it will do for now - just no controls over the macro settings. On the work bench is the Medusa, sister to the one I already finished in the same lowrider style as the first one, which is complete but needs a clear coat, and I don't have any at the moment, so she will sit there for a few days. Today I also built the final 4 veterans for the unit, you can see the 4 new ones primered and ready for paint so they can join the other 6.

Saturday, March 26, 2011

A Fist Full of Bitz: Ponytails!?

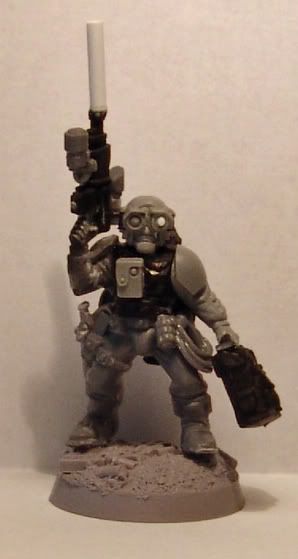
I have seen all manner of female guard conversions, ideas, guides and templates on the web but none of them really appealed to me. Typically you end up with the normal gamer solution of tank tops, bikini tops or flowing hair and tight leather. None of these were what I was going for, so I went in a bit different direction. I wanted to add a female sniper to my veteran squad, but not like your stereotypical swinging from a pole female, a very subtle conversion that you would probably miss on first glance. Here is the where I started, held together with blue-tac:

Saturday, March 19, 2011

A Fist Full of Bitz: First Five GTG

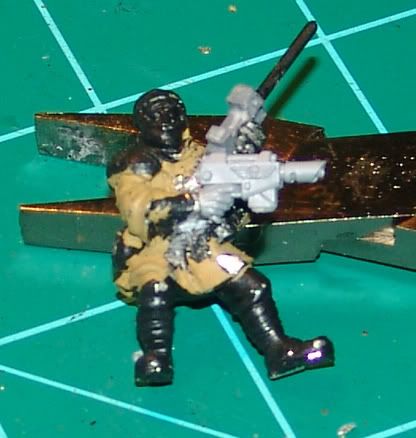
The first five of my Hardened Veterans are done, two melta guneners and three lasgun troopers, as well as the Veteran / Marbo / Vox / Democharge / Swiss Army knife guy. Legs are Space Marine scouts, torsos / arms / heads are Cadian and the weapons are carbine lasguns from the tank accessory sprue. I think they look sufficiently like a motley crew of veterans:

Saturday, February 26, 2011

All my friends love a lowrider: Part 4 - Complete!

Well, the clear coat is drying now and here are a couple of shots I took outside while she bakes in the evening sun:

Saturday, February 19, 2011

All my friends love a lowrider: Part 3

All the elements have come together save one part; communications! So out came the hacksaw to remove the lasgun, add in a las pistol and chop up a Tau drone blaster thinger and add an antenna - and you have a long range handset for communicating with the HQ squads...


Saturday, February 12, 2011

All my friends love a lowrider: Part 2

In part one we looked at the positioning of the tracks, construction of the Medusa cannon and the modifications required for the hull. In part two we bring those elements together and begin adding the small pieces that will make this into one 'cohearant' project.

Using an extra plate that was lying around from another Chimera kit we reinforce the front end while adding one half of the fuel barrel to each side to close up the hole where the skull and wings plate would normally go. Adding the three small rungs to each side really helps to bring out the character of the tank:

Sunday, February 6, 2011

A Fist Full of Bitz: Sly Marbo

Got bored; not good in a house full of bits. SO I remembered a blogger waxing on eloquently about Sly Marbo (you know Marbo is really just the letters from 'Rambo' scrambled up, right? Huzzah for original thought!) and if he was worth the points, and I was thinking about making a Stormtrooper / Veteran squad...

Friday, February 4, 2011

All my friends love a lowrider: Part 1

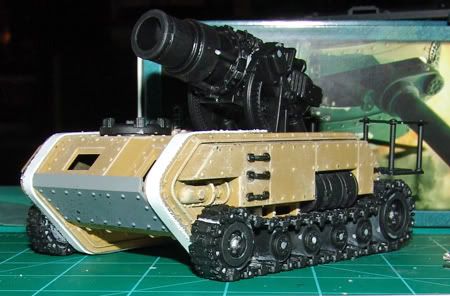
One of my older works, a Medusa conversion - lowrider style. I really went for an old school bombard type of look with this particular piece and here are the first portions of the conversion.

Our humble Lowrider Medusa begins life as a lowly Basilisk kit. Starting with the positioning of the sides, I used 1/4 inch square plastisctuct rods instead of the normal wheels to separate the hull portions. This gives us a slimmer profile that will really help tie in the conversion once the tracks are done. Additionally the back section of the tank was cut out for additional room. I then used plastistruct thin sheeting in long strips to cover the gap between the two sides of the hull. In this picture you can see two of the rods I used to space the hull plates as well as the gap covering flat sheets: